
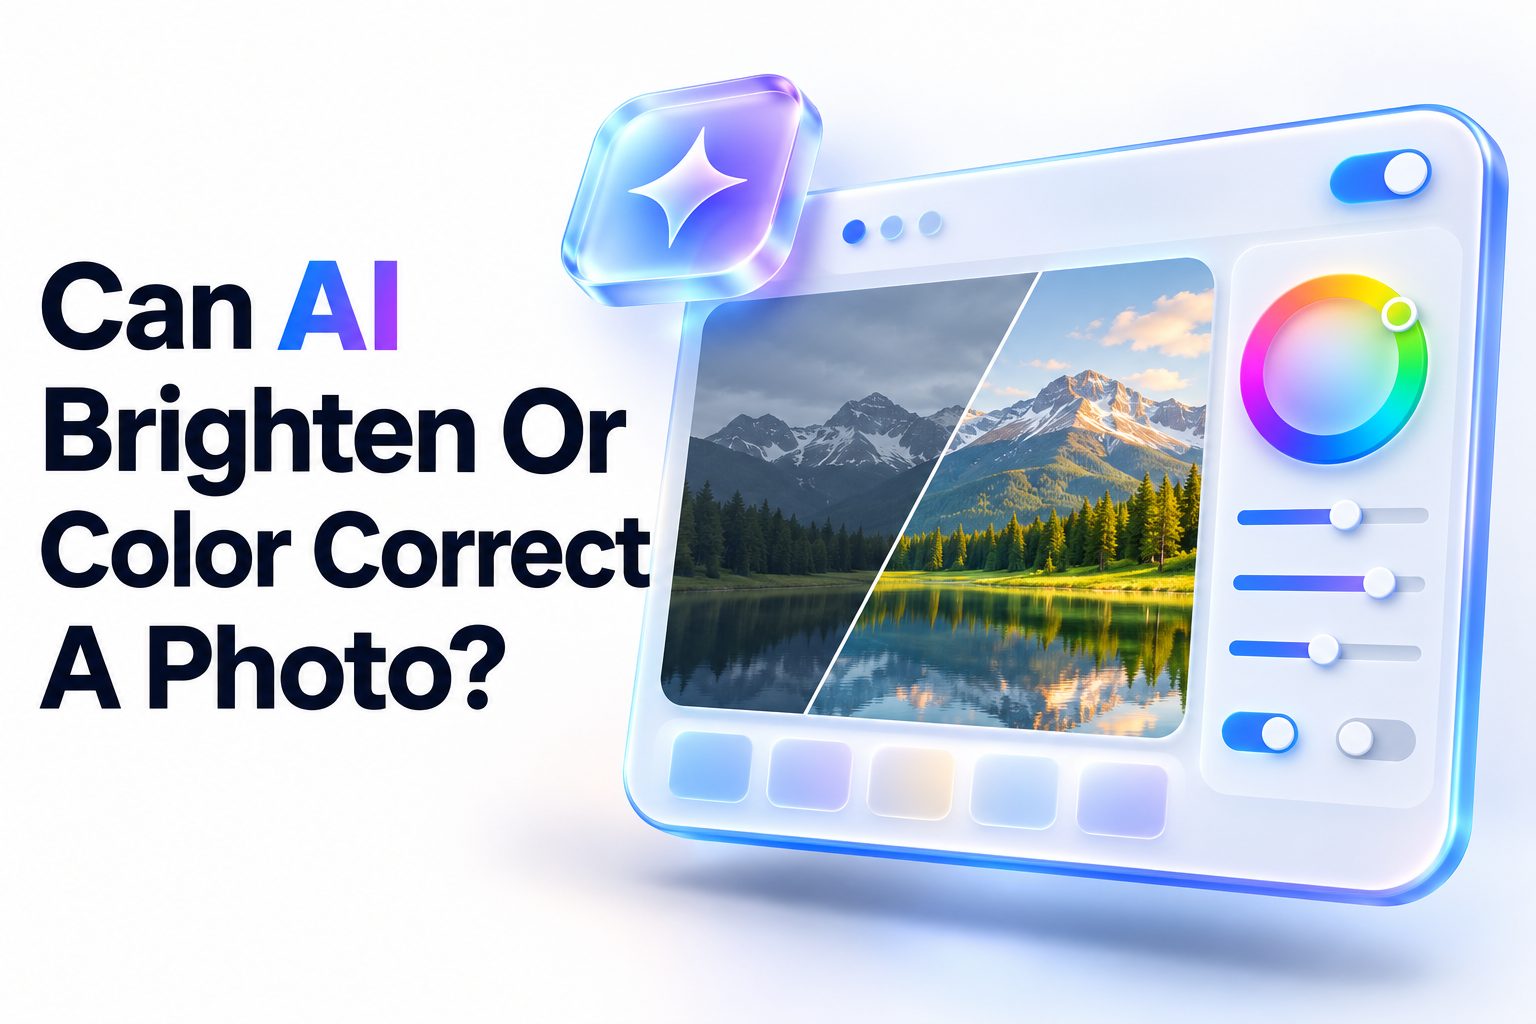
A photo can be technically sharp and still look disappointing because it is too dark, washed out, yellow, blue, or unevenly lit. The good news is that AI can often fix those issues quickly. So, can ai brighten or color correct a photo? Yes—modern AI photo editors can analyze exposure, shadows, white balance, contrast, and color casts, then make targeted adjustments that would otherwise take several manual edits.
The results can be impressive, especially for underexposed phone pictures, indoor portraits, backlit travel photos, and scanned family images. AI does not simply raise brightness across the entire image. Better tools identify faces, skies, backgrounds, and darker areas, allowing them to lift shadows while preserving highlight detail and natural-looking skin tones.
This article explains what AI photo correction can do, where it falls short, how to get better results, and when manual editing still matters. You will also find a practical workflow for improving photos without making them look overprocessed.
What AI Brightening and Color Correction Actually Do
AI photo correction uses image analysis to identify common visual problems and adjust selected parts of the picture. Instead of applying the same brightness increase everywhere, it can recognize that a face needs more light while a nearby window already has enough exposure.
Color correction focuses on making colors look believable. It may remove a warm yellow cast from indoor lighting, reduce an overly blue tone from shade, restore faded colors, or balance contrast between bright and dark parts of the frame. Many tools combine these corrections into a single “auto enhance” action.
The strongest AI tools work from patterns learned from large sets of photographs. They estimate how a scene might look under better lighting, then apply edits based on the image content. That makes them especially useful when you need a fast starting point rather than detailed, professional retouching.
AI is not reading the original scene perfectly, though. It makes an educated visual estimate. A sunset may be made too neutral, a deliberately moody photo may become overly bright, or vivid clothing may lose its intended color if you accept every automatic suggestion without reviewing it.
The Types of Photo Problems AI Can Fix
AI editing is most effective when the image has usable detail but needs better balance. For example, a portrait taken against a bright window may have a dark face and a correctly exposed background. AI can often lift the face without turning the entire image into a pale, flat-looking file.
It can also help with color issues caused by mixed lighting. A room lit by both daylight and warm lamps can produce strange skin tones and inconsistent whites. AI may reduce the dominant color cast, though heavily mixed light often still benefits from manual local adjustments.
Common corrections AI can handle include:
- Brightening underexposed shadows while protecting bright areas
- Recovering moderate highlight detail in skies or windows
- Correcting yellow, orange, green, or blue color casts
- Improving white balance in indoor and outdoor photos
- Adding modest contrast and clarity to flat images
- Enhancing colors that look dull after poor exposure
- Balancing portraits so faces appear more evenly lit
- Reducing noise that becomes visible after brightening
Why AI Often Produces Better Results Than a Simple
A basic brightness slider affects every pixel in roughly the same way. In a dark image with bright streetlights, that can brighten the subject but also blow out the lights. AI-assisted editing usually separates shadows, midtones, and highlights more intelligently before deciding what to change.
The difference is most noticeable in high-contrast scenes. A person standing in shade near a sunny beach, for example, needs shadow recovery more than overall brightness. An AI editor can lift the person, preserve some sky detail, and apply color balancing in one pass.
AI correction also saves time for people who do not know the difference between exposure, whites, blacks, temperature, tint, saturation, and vibrance. It can create a sensible baseline, after which you only need to make small changes based on your personal preference.
That said, automatic editing does not replace visual judgment. A professional photographer may intentionally leave shadows deep or retain warm indoor lighting because those choices support the mood. Treat AI as an efficient assistant, not the final decision-maker.
When AI Brightening Works Best
AI performs well when the original image contains enough image information to recover. Photos taken in dim but not completely dark conditions often respond well, particularly images captured in RAW format or newer phone formats with strong dynamic range.
Portraits, casual product photos, social media images, travel snapshots, and real estate interiors are common use cases. In each case, the goal is typically clear: show the subject more clearly while keeping the image natural. AI can make those improvements with little editing knowledge.
A useful rule of thumb is to assess the photo before
1. Check whether important details are merely dark or completely black.
2. Look at bright areas to see whether they are still textured or pure white.
3. Identify the main color problem, such as yellow indoor lighting or a blue outdoor cast.
4. Apply an AI enhancement as a starting point.
5. Compare the edited version with the original at full size.
6. Reduce the strength of the edit if skin, skies, or white objects begin to look artificial.
Situations Where AI Cannot Fully Rescue a Photo
AI can improve a poorly exposed image, but it cannot reliably recreate detail that was never captured. If a face is completely black in the original file, brightening may reveal noise, blotchy color, or invented-looking texture rather than a clean result.
The same applies to blown-out highlights. A white sky or wedding dress with no visible detail may not have recoverable information. Some editors can generate a more pleasing replacement appearance, but that is reconstruction, not true recovery of the original scene.
Be careful with photos that have:
- Severe motion blur
- Heavy digital noise from a very high ISO setting
- Completely clipped highlights or shadows
- Strong mixed-color lighting on faces
- JPEG compression artifacts
- Incorrect focus on the main subject
- Extreme backlighting with no retained subject detail
For difficult files, use AI correction alongside techniques from [Internal Link: photo restoration tips]. Noise reduction, selective masking, and careful exposure adjustments may produce a more honest and natural result than one-click enhancement alone.
A Practical Workflow for Brightening a Photo With AI
Start by duplicating the original file or working in a non-destructive editor. This protects the unedited version and makes it easier to compare changes. Many photo apps automatically preserve the original, but it is still worth confirming before exporting over an important image.
Apply the tool’s automatic enhancement or AI lighting feature first. Then pause before adding more adjustments. AI tools frequently change exposure, contrast, color, and sharpness together, so stacking more edits immediately can make the photo look harsh.
Review Exposure Before Color
Check whether the main subject is visible and whether the brightest parts of the image still have detail. If the image feels bright enough but flat, do not keep increasing exposure. A small contrast adjustment or selective shadow lift may be the better choice.
Portraits deserve special attention. Faces should look evenly visible, but not overly smooth or pale. If the AI has brightened skin too much, lower the effect strength or reduce highlights around the face rather than darkening the entire photo.
Correct White Balance and Color Casts
White balance determines whether neutral objects look neutral. A white wall that appears yellow, green, or blue is often a sign that the color temperature or tint needs adjustment. AI can correct this quickly, but it may remove intentional warmth from a restaurant, sunset, or candlelit scene.
Use familiar reference points when reviewing color. Skin, white clothing, gray pavement, and clouds are often easier to judge than highly saturated objects. If the scene still looks strange after auto correction, adjust temperature in small increments instead of pushing saturation.
Finish With Small Local Adjustments
The best final edits are often subtle. Use masks or subject-selection tools to brighten only the person, product, or foreground that needs help. This keeps the background from becoming washed out and preserves depth in the photograph.
At this stage, reduce any excessive sharpening, clarity, saturation, or skin smoothing introduced by the AI. A convincing edit usually looks like the photo was captured under better conditions, not like it was heavily processed afterward.
Choosing the Right AI Editing Tool
Most major photo-editing platforms now offer some form of AI auto enhancement, adaptive exposure, subject masking, or color correction. The best option depends less on brand names and more on the level of control you need and the type of files you edit.
For quick phone photos, a built-in gallery editor may be enough. For client work, archival images, or important portraits, choose an editor that lets you control the intensity of AI corrections and make selective edits using masks. Editing flexibility matters more than a dramatic one-click preview.
| Editing Need | Useful AI Capability | What to Watch For |
|—|—|—|
| Dark portrait | Subject detection and shadow recovery | Over-bright skin or artificial smoothing |
| Indoor phone photo | White balance and color-cast removal | Loss of warm atmosphere |
| Backlit landscape | Highlight protection and local exposure | Flat skies or haloing around edges |
| Old family image | Brightening, denoising, color restoration | Invented details or altered facial features |
| Product photo | Neutral white balance and background correction | Inaccurate product colors |
A good editor should let you view before-and-after versions, undo individual changes, edit specific regions, and export at a useful resolution. If you publish images online, review [Internal Link: image optimization for websites] after editing so the improved photo does not become slow to load or blurry after compression.
Common AI Photo Correction Mistakes
The most frequent mistake is assuming brighter always means better. When shadows are lifted too far, images lose depth and begin to look gray. Dark areas are part of a photograph’s structure; they help guide the eye and create separation between subjects and backgrounds.
Another common issue is overcorrecting color. AI may make foliage greener, skies bluer, and skin warmer because those changes look appealing in a thumbnail. At full size, the effect can feel exaggerated. Natural color is usually more durable than trendy, high-saturation editing.
Use this quick quality check before exporting:
- Compare the edit with the original, not just with memory.
- Zoom in on faces, hair, fabric, and sky edges.
- Check white objects for yellow, blue, or gray casts.
- Look for halos around people, buildings, and trees.
- Make sure shadows still retain some depth.
- View the image on a second screen when color accuracy matters.
- Export a test copy before replacing the original file.
AI Brightening for Different Types of Photos
The same correction settings should not be used for every image. A dim restaurant portrait needs different treatment than a bright outdoor landscape. AI can recognize scene types, but your final choices should reflect why the photo was taken and what viewers need to notice.
For portraits, prioritize believable skin tone and eye detail. For products, prioritize accurate color and clean whites. For landscapes, protect highlight detail and avoid excessive saturation. For old photos, preserve the original character rather than making every surface look digitally new.
Portraits and People
Use face-aware light adjustments carefully. Brightening the subject is helpful, but strong AI skin smoothing can erase freckles, texture, and natural character. Lower the effect when a face begins to look plastic, especially in close-up images.
Pay attention to the background as well. An evenly lit face against a very dark background may look pasted in if the transition is too abrupt. Slightly lifting nearby shadows often creates a more believable result than brightening the subject alone.
Landscapes and Travel Photos
Landscape photos commonly benefit from highlight recovery and selective shadow adjustments. This can reveal foreground detail without turning clouds into flat white areas. Color correction should respect the actual time of day and weather conditions.
Be cautious with automatic sky enhancement. A cloudy day does not need to become deep blue to look attractive. Aim for detail and tonal balance first, then add only enough color to match the memory and mood of the scene.
Product and Business Images
For product photography, color accuracy matters more than dramatic styling. AI can clean up uneven light and correct a background, but it can also alter the shade of clothing, cosmetics, furniture, food, or branded packaging.
Use a neutral object in the frame as a reference when possible. Review the final image beside the physical product or a known accurate sample. This is particularly important for online stores, where inaccurate color can lead to customer dissatisfaction and returns.
Manual Editing Still Has an Important Place
AI works best when it handles repetitive analysis and gives you a fast foundation. Manual controls still matter because you know what the photo should communicate. You can decide whether a room should feel warm, whether a shadow should remain dramatic, and which subject deserves attention.
Learning a few basic manual adjustments gives you much more control over AI-generated results. Exposure changes overall light, shadows lift dark areas, highlights recover bright areas, temperature changes warm versus cool tones, and tint corrects green or magenta shifts.
You do not need advanced retouching skills to benefit from these controls. Small, deliberate corrections often improve an AI edit more than applying several additional automatic filters. The goal is not to make every image look identical; it is to make each image look intentional.
Conclusion
AI photo editing can make dark, dull, or oddly colored images far more usable in minutes. It is especially effective for moderate underexposure, uneven lighting, common white-balance issues, and quick portrait or travel-photo improvements. The strongest results come from using automatic edits as a starting point, then checking exposure, skin tones, highlights, and color accuracy before exporting.
The key limitation is simple: AI can enhance information that exists in the file, but it cannot reliably restore detail that was never captured. Completely black shadows, blown-out highlights, severe blur, and heavy noise still require realistic expectations and, sometimes, manual work.
When used with restraint, can ai brighten or color correct a photo is no longer a theoretical question. It is a practical editing option for anyone who wants clearer, more balanced images without spending hours adjusting sliders. Review the results carefully, preserve the original, and favor natural-looking improvements over dramatic effects.
Frequently Asked Questions
Can AI brighten a very dark photo?
Yes, AI can brighten a moderately dark photo by lifting shadows and adjusting local exposure. Results depend on retained detail. Completely black areas may reveal noise or artificial-looking texture instead of a clean recovery.
Can AI fix yellow indoor lighting?
Yes, AI can often reduce yellow or orange color casts caused by indoor lighting. Check skin tones and white surfaces afterward, since an automatic correction may remove warmth that was intentionally part of the scene.
Does AI color correction change photo quality?
It can improve perceived quality by balancing light and color, but excessive edits may create noise, halos, or unnatural colors. Exporting at low resolution or high compression can also reduce the final image quality.
Is AI better than manual photo editing?
AI is faster for routine corrections and useful as a starting point. Manual editing is better when accuracy, creative mood, or precise local changes matter. The best workflow often combines both approaches.
Can AI correct old scanned photos?
Yes, AI can brighten faded scans, reduce color casts, and improve contrast. Review faces, textures, and printed details closely, because aggressive restoration tools may invent details or make historic photographs look unnaturally modern.