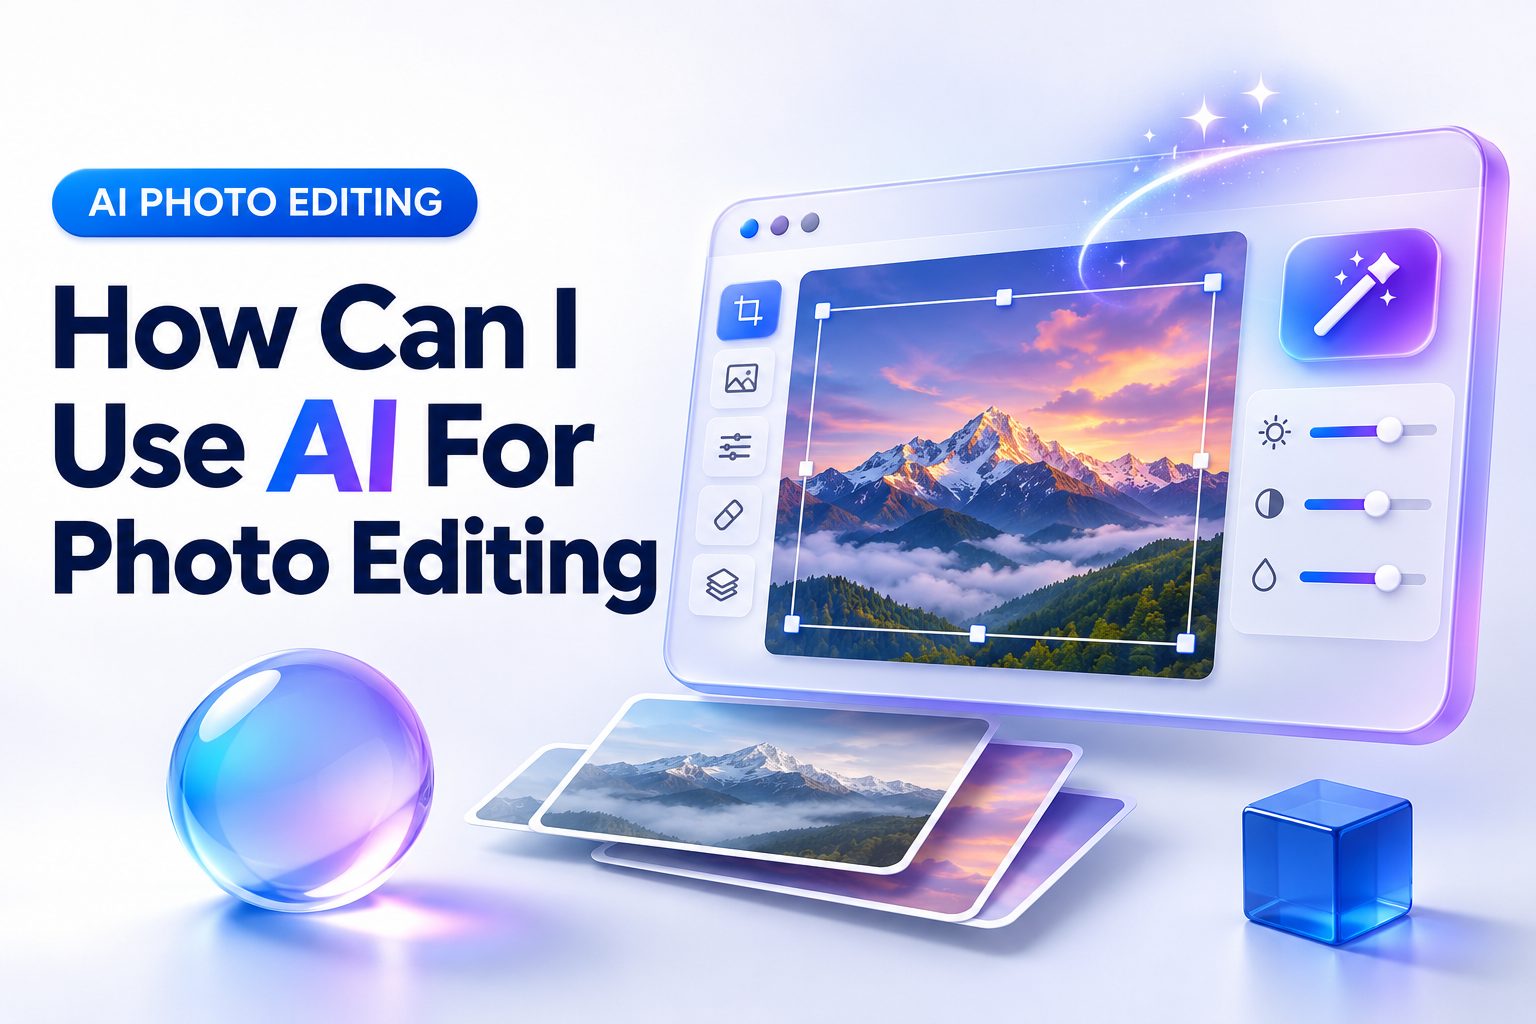
Photo editing no longer has to mean spending an hour cloning out distractions, masking hair by hand, or adjusting every slider until an image looks right. AI can handle many of those repetitive tasks in seconds while still leaving you in control of the creative decisions. If you are asking, “how can i use ai for photo editing,” the practical answer is simple: use it to speed up corrections, generate or remove selected elements, improve image quality, and create alternative versions without replacing your own judgment.
The most useful approach is to start with a clear goal for each image. You might want a brighter portrait, a cleaner product photo, a removed background, or a wider crop for social media. AI editing tools are strongest when they have a specific instruction or a well-defined selection to work from. In this article, you’ll learn where AI genuinely saves time, how to build a reliable editing workflow, which mistakes to avoid, and how to keep your final images believable.
What AI Photo Editing Can Do Well
AI photo editing uses machine learning to recognize objects, people, backgrounds, lighting, and image patterns. Instead of manually selecting a subject or painting over an unwanted object, you can often choose it with one click and tell the software what result you want.
Its biggest value is speed. AI can separate a person from a busy background, identify a sky, reduce noise in a dim photo, or suggest a crop within moments. That makes it useful for creators, small businesses, photographers, online sellers, and anyone sorting through a large batch of images.
Fast Corrections and Enhancements
Many editing apps use AI for routine improvements such as exposure balancing, color correction, sharpening, and noise reduction. These tools can provide a strong starting point, especially when images were taken in mixed lighting or on a phone.
Use automatic adjustments as a draft rather than a final answer. Check skin tones, white objects, shadows, and saturated colors afterward. An AI enhancement can brighten a dark room, but it may also remove the atmosphere that made the original photo appealing.
Object Removal and Background Changes
Generative tools can remove unwanted items, fill the empty area, or replace a background with something more appropriate. This works well for stray cables, small signs, dust spots, or distracting people at the edge of a travel photo.
Results become less reliable when the removed object covers complex details. A hand over part of a face, a reflection in glass, or a detailed pattern may need manual retouching. Zoom in before publishing so you can catch warped edges, repeated textures, or unnatural shadows.
The Best Uses for AI in Everyday Photo Workflows
AI is most helpful when it removes tedious steps without changing the reason you took the image. A portrait still needs to look like the person, a product photo still needs to show the product accurately, and a real estate image should not misrepresent the property.
Think of AI as an assistant for technical cleanup and controlled experimentation. It can give you several workable starting points quickly, allowing you to spend more time on composition, consistency, and the message your images communicate.
Portrait and Headshot Editing
For portraits, AI can select the subject, soften minor blemishes, reduce under-eye shadows, improve lighting, and blur or replace a background. It can also help recover detail in a slightly underexposed image without requiring advanced retouching skills.
Keep portrait edits restrained. Over-smoothed skin, overly white teeth, enlarged eyes, and altered facial proportions can make a headshot feel artificial. Preserve identifying features and use edits that support a polished, credible version of the person.
Product, Food, and Marketplace Images
Online sellers can use AI to remove clutter, create a clean background, resize images for listings, and make color or exposure more consistent across a catalog. Food photographers can clean small distractions and improve lighting without rebuilding an entire scene.
Accuracy matters more than visual drama in commercial images. Do not use AI to alter a product’s material, color, included accessories, size, or condition. A cleaner photo can help conversion; a misleading photo can lead to returns and lost trust.
- Remove small visual distractions before adjusting color and contrast.
- Use background removal for consistent product listings and profile images.
- Create platform-specific crops from one original image.
- Apply the same preset or adjustment range across a related set of photos.
- Save the untouched original so you can revisit the edit later.
Choosing an AI Photo Editing Tool
The right tool depends on what you edit most often and how much control you need. Mobile apps are convenient for quick social posts, while desktop editors generally offer better masking, batch processing, file management, and fine-tuning.
You do not need the most complicated platform to get good results. Look for tools that let you compare before and after versions, edit nondestructively when possible, export at the resolution you need, and revise AI-generated changes with brushes or masks.
Mobile Editors for Quick Changes
Phone-based editors are useful for quick crops, portrait touch-ups, background removal, and lighting corrections. They suit content creators who need to produce and publish images quickly, often directly from their camera roll.
The limitation is precision. A small phone screen can hide edge problems and make it difficult to judge sharpness. For client work, printed photos, or product images, inspect the final file on a larger screen before treating it as complete.
Desktop Editors for Detailed Work
Desktop software is a better fit for high-resolution files, layered edits, RAW images, and batch workflows. It also gives you more room to control masks, blend generated content with the original image, and correct small errors after an AI tool finishes.
For photographers with repeatable needs, desktop workflows can save substantial time. You might use AI to select subjects across a wedding gallery, then apply your own exposure and color decisions consistently instead of accepting a generic automatic look.
| Editing need | AI feature to look for | Best level of control |
|—|—|—|
| Quick social photo | Auto enhancement, crop suggestions | Mobile app |
| Portrait cleanup | Subject masking, retouching controls | Mobile or desktop |
| Product listings | Background removal, batch resizing | Desktop or browser editor |
| Low-light images | Noise reduction, detail recovery | Desktop editor |
| Complex composites | Generative fill, layer masks | Desktop editor |
A Reliable AI Editing Process From Start to Finish
Good results usually come from a simple sequence: correct the image first, make selective changes second, and inspect the details last. Starting with a broad generative command can create unnecessary work if the original image only needs basic tonal adjustments.
Before editing, decide what must remain true in the photo. For example, in a professional headshot, the person’s facial features and clothing should remain accurate. In an ecommerce image, the product must match what a buyer receives.
Start With a Clean Original
Use the highest-quality original file available. AI can improve exposure and reduce noise, but it cannot reliably restore details that were never captured. A sharp, well-lit source image gives every tool a better chance of producing a natural result.
Make a duplicate or work with nondestructive edits. This lets you compare versions, undo a poor result, and return to the original if your style changes. It is especially important when using generative replacement features.
Make One Clear Change at a Time
Select only the area you want to edit, then use a short, specific instruction. “Remove the power line behind the subject” is more reliable than “make this look better.” If you are adding content, describe the location, lighting, and scale.
After each major edit, check the image at normal viewing size and at 100 percent zoom. Normal size tells you whether the photo feels convincing; close inspection reveals strange edges, duplicated details, and textures that need correction.
1. Import the original image and create a working copy.
2. Crop and straighten the composition before detailed retouching.
3. Correct exposure, white balance, and contrast.
4. Use AI selections for the subject, sky, background, or individual objects.
5. Remove distractions or make targeted enhancements.
6. Review edges, reflections, shadows, text, and hands at high magnification.
7. Export a version sized and compressed for its intended platform.
Using Generative AI Without Making Photos Look Fake
Generative editing is powerful because it can create pixels that were not in the original file. That also makes it the area where restraint matters most. A generated background or removed object can look believable at a glance while failing under closer inspection.
Aim for consistency with the original photo. Light direction, color temperature, depth of field, perspective, and shadow softness should all match. If the new element does not share those qualities, the image will feel assembled rather than photographed.
Write Better Editing Prompts
A good editing prompt describes the result, not a vague mood. Mention the object, placement, scale, and visual conditions when relevant. For instance, “replace the gray wall with a softly blurred green garden in daylight” gives more usable direction than “make the background nicer.”
Avoid asking for too many changes in one instruction. Generating a new scene, changing clothes, altering pose, and fixing lighting at once can distort the subject. Divide complex work into smaller edits so you can judge each result.
Protect Realism and Trust
Some images should not be materially altered at all. News photography, legal documentation, insurance evidence, medical images, and many real estate listings have ethical or professional standards that limit what can be changed. Check the rules of your industry before editing.
Even in ordinary marketing work, disclose meaningful AI-generated changes when context makes that important. Basic cleanup is different from creating a product feature, adding a person to an event photo, or presenting a fictional interior as a real property.
Common AI Photo Editing Mistakes
The most common problem is accepting the first result because it looks impressive on a small preview. AI tools can make fast changes, but visual errors often appear around hair, fingers, jewelry, lettering, and objects that overlap.
Another mistake is applying the same treatment to every image. Strong smoothing, aggressive HDR effects, and heavy sharpening can erase the character of a photo set. Consistency is useful; identical processing is not always the same thing.
Errors Worth Checking Before Export
AI may invent or distort text, create asymmetrical details, alter logos, or blur parts of the image that should remain crisp. These issues matter most in product photography, event images, and portraits, where viewers know what familiar objects should look like.
Pay close attention to backgrounds after object removal. Repeating patterns, broken lines, odd reflections, and floating shadows are easy to miss until the image is posted. A small amount of manual cloning or masking can often fix the problem.
When Manual Editing Is the Better Choice
Manual tools are often better for tiny corrections, precise brand assets, and high-stakes photographs. A carefully placed healing brush may take less time than regenerating an area several times and trying to repair inconsistent results.
Use AI for the broad task and manual editing for the final polish. That combination is usually more efficient than treating AI as an all-or-nothing replacement for traditional photo editing skills.
- Do check hands, faces, text, logos, and straight architectural lines.
- Do compare the edit with the original before exporting.
- Do keep edits subtle when the image needs to document reality.
- Don’t use AI-generated details that change what a product or property includes.
- Don’t trust automatic sharpening on every photo.
- Don’t discard the original file after exporting.
Practical Examples for Different Types of Photos
For a casual travel photo, AI can remove a distracting trash bin, brighten the subject’s face, and recover a little detail from a cloudy sky. The goal is to preserve the memory while directing attention toward the people or place that mattered.
For a business image, the workflow is more controlled. You may remove a temporary reflection from a product photo, place the product against a neutral background, and produce cropped versions for a store listing, email, and social media post. For a repeatable workflow, see [Internal Link: product photography tips].
Editing a Portrait for LinkedIn
Start by choosing the strongest image with natural expression and good focus. Correct the exposure, use a subtle AI subject mask to separate the person from the background, and reduce distractions behind them rather than replacing the scene with something elaborate.
Check the final result at full size. Hair edges should remain intact, clothing should not merge into the background, and skin texture should still look like skin. A professional headshot should feel polished, not heavily filtered.
Improving a Phone Photo in Low Light
Begin with noise reduction, then lift shadows carefully while watching for muddy color and lost detail. AI sharpening can help, but use it lightly because it may create halos around lights, hair, and high-contrast edges.
If the photo is badly blurred from movement, AI may improve its appearance but cannot always recreate accurate details. Use the result for small online viewing when it looks natural, but avoid relying on it for large prints or critical documentation.
Building Better Habits With AI Editing
Create a simple style reference before you edit a batch of photos. Decide how warm or cool your colors should be, how much contrast fits your brand, and how much retouching feels appropriate. This prevents AI suggestions from pulling each image in a different direction.
It also helps to maintain organized folders for originals, working files, and final exports. Clear filenames and saved presets make it easier to revisit a project without wondering which version was published. [Internal Link: photo file organization tips] can help you establish a practical system.
Learn the Controls Behind the Automation
Even when you rely on AI, basic editing knowledge makes the tools more useful. Learn how exposure, highlights, shadows, white balance, saturation, texture, and sharpening affect an image. You will make better choices when an automatic result looks slightly wrong.
Treat presets and one-click options as suggestions. Your eye should decide whether the edit supports the image. Over time, you will recognize when AI is saving work and when it is pushing the photo away from your intended look.
Keep Privacy and Permissions in Mind
Some AI editors process images in the cloud, which means your files may be uploaded to a service. Read the platform’s privacy terms before using sensitive client photos, private family images, or unreleased commercial work.
Get permission when needed before editing or sharing photographs of other people. Be especially careful with images of children, workplace materials, confidential documents, and identifiable customer information that may appear in the background.
Conclusion
AI is most useful in photo editing when it removes friction from the work you already want to do. Use it to select subjects, clean backgrounds, reduce noise, correct lighting, create sensible crops, and handle repetitive tasks across a group of images. Then slow down for the decisions that need a human eye: realism, brand consistency, accuracy, and emotional tone.
The best results come from starting with a good original, making focused edits, and reviewing the output closely before you share it. Save your originals, make one meaningful change at a time, and do not let an automated result override what the photo is meant to communicate. Once you build that habit, the answer to how can i use ai for photo editing becomes less about finding a magic button and more about using a capable assistant with clear boundaries. You will work faster while keeping your images believable, useful, and recognizably yours.
Frequently Asked Questions
Can AI edit photos automatically?
Yes, AI can automatically adjust lighting, color, noise, sharpness, and cropping. Automatic edits work best as a starting point. Review the result afterward, because skin tones, bright highlights, and small details may need manual correction.
Can AI remove objects from photos?
Yes, AI can remove many unwanted objects and fill the area behind them. It works best on simple backgrounds. Inspect the result closely when objects overlap faces, patterns, text, shadows, reflections, or important edges.
Is AI photo editing good for beginners?
Yes, it is useful for beginners because it simplifies selections and routine corrections. Start with basic tasks such as cropping, background removal, and exposure adjustments. Learning simple manual controls will still improve your final results.
Can AI improve blurry photos?
AI can make mildly soft or noisy photos appear clearer, especially for online viewing. It cannot reliably restore accurate details from severe motion blur or missed focus, so avoid using enhanced results for critical evidence or large prints.
Should I disclose AI-edited photos?
Disclose edits when they materially change what viewers are expected to believe. Basic cleanup usually needs no special notice, while generated people, products, property features, or event details should be identified clearly where context requires it.