
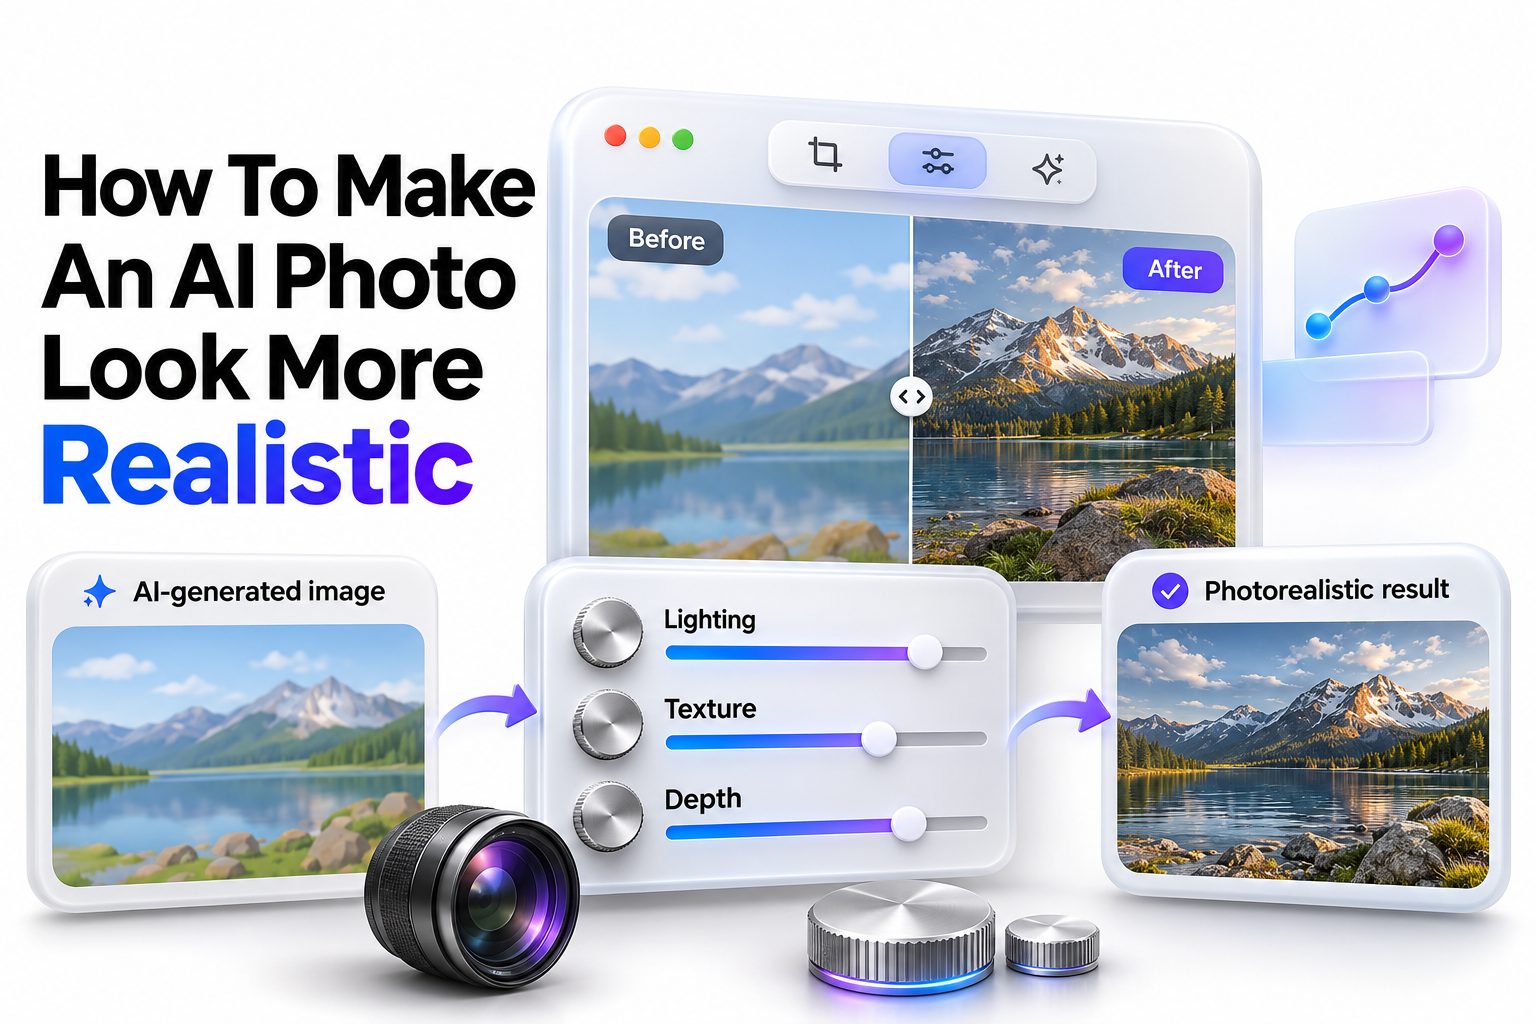
AI images can look impressive at first glance, yet small details often give them away: overly smooth skin, strange hands, plastic-looking light, inconsistent shadows, or backgrounds that feel too perfect. Learning how to make an ai photo look more realistic is less about adding more detail and more about adding the right kind of imperfection, texture, and visual consistency.
The most convincing results usually begin before you generate the image. A clear prompt, believable lighting, a specific camera style, and realistic materials create a strong foundation. From there, selective editing can correct the flaws that image generators still struggle with.
This article explains a practical workflow for producing more natural AI photos. You will learn how to write prompts that encourage realism, refine anatomy and lighting, avoid common visual mistakes, and use editing tools without making the final image look overprocessed.
Why AI Photos Often Look Artificial
AI image tools learn patterns from huge collections of photographs, illustrations, and edited images. They can recreate the overall appearance of a portrait, product image, or landscape, but they do not always reproduce the physical rules behind a real photograph.
That is why AI images often contain subtle inconsistencies. A face may look polished but lack pores, fabric may fold in impossible directions, or reflections may show objects that are not present. Realism depends on coherence across the whole image, not just sharp details.
Start With a Believable Image Concept
A realistic result begins with a scene that could actually be photographed. Instead of asking for a vague “beautiful person in a city,” define the setting, time of day, wardrobe, mood, angle, and light source. Specificity gives the model fewer opportunities to invent disconnected details.
It also helps to avoid piling unrelated visual ideas into one prompt. A candid café portrait, dramatic studio lighting, rainy neon streets, and a wide-angle lens can work together, but only when the scene is physically plausible. Treat the prompt like a short photography brief.
- Choose one clear subject and activity.
- Set the location and time of day.
- Identify the main light source.
- Specify a realistic camera distance or lens style.
- Add only details that support the scene.
- Leave room for natural variation instead of demanding perfection.
Write Prompts That Describe Real Photography
Realistic prompts work best when they describe photographic conditions instead of using generic quality phrases. Terms such as “ultra-detailed” or “8K” may increase sharpness, but they do not automatically create believable light, skin, composition, or depth.
Use details a photographer would notice: window light, shallow depth of field, environmental shadows, a handheld framing style, or a 50mm lens perspective. You can also describe materials and expressions, such as slightly wrinkled linen, natural skin texture, wind-blown hair, or a relaxed half-smile.
Include Physical Details That Match the Scene
Every visual element should support the same story. For example, a person standing outside on an overcast day should not have hard midday shadows. A restaurant scene should include practical indoor light, subtle reflections, and background activity appropriate to the space.
Try a prompt structure like this: subject, environment, action, lighting, camera perspective, and visual texture. For example: “A candid portrait of a man reading near a café window on an overcast afternoon, soft side lighting, 50mm documentary photography, natural skin texture, slightly wrinkled navy jacket, shallow depth of field.”
Use Negative Prompts Carefully
Negative prompts can reduce recurring flaws, especially in generators that support them. Common entries include “extra fingers,” “distorted hands,” “wax skin,” “over-sharpened,” “text,” “watermark,” and “unnatural teeth.”
Avoid adding a huge list of negatives to every image. Too many restrictions can make the output stiff or remove useful visual detail. Start with only the problems you consistently see, then adjust based on the individual image.
Use Imperfections to Create Authenticity
Perfect symmetry and flawless surfaces often make an AI image feel artificial. Real people have uneven eyebrows, subtle skin texture, flyaway hair, and small differences between the left and right sides of the face. Real spaces also contain minor clutter, scuffs, and irregular patterns.
Adding controlled imperfections makes an image more believable without making it unattractive. A faint crease in clothing, a natural skin blemish, a slightly off-center composition, or a few background objects can make the scene feel observed rather than manufactured.
1. Generate several variations from the same prompt.
2. Pick the image with the most believable pose and lighting.
3. Keep minor imperfections that look natural.
4. Correct only obvious errors, such as extra fingers or warped jewelry.
5. Add subtle texture during editing if surfaces still look too smooth.
6. Review the image at both full size and thumbnail size.
Get Skin, Faces, and Hair Right
Portraits are among the hardest AI images to make convincing because people quickly notice facial irregularities. The goal is not flawless skin. It is skin that has pores, tonal variation, natural highlights, and a realistic amount of texture for the subject’s age and lighting.
Be cautious with beauty filters and aggressive skin smoothing. They can erase the very details that make a face believable. If you edit a portrait, reduce only distracting artifacts while preserving freckles, fine lines, subtle under-eye texture, and natural color variation.
Preserve Natural Facial Proportions
Look closely at eyes, ears, teeth, nostrils, and the alignment of glasses or earrings. These features are often small enough to be missed at first, but they can make the entire image feel wrong. Correcting one malformed eye is often more valuable than increasing the image resolution.
Expressions should also fit the context. A casual portrait may need a softer, less exaggerated expression than a commercial fashion image. Overly wide smiles, perfectly symmetrical faces, and fixed eye contact can make a person look synthetic.
Make Hair Look Less Rendered
AI-generated hair often appears too glossy, too uniform, or strangely merged with the background. Ask for “individual flyaway hairs,” “soft natural hair texture,” or “slightly tousled hair” when those details suit the scene.
During editing, avoid sharpening every strand. Instead, refine the edge where hair meets the background and soften areas that look like rigid clumps. Natural hair has variation in direction, density, and brightness.
Match Lighting, Shadows, and Reflections
Lighting is one of the strongest signals of photographic realism. A subject can have excellent facial detail and still look fake if the shadows point in different directions or the brightness does not match the environment.
Identify the dominant light source before you edit. In a window-lit room, the brightest side of the face, the cast shadows, and the reflective surfaces should all respond to the same window. In an outdoor scene, consider whether the sky, sun, buildings, or nearby ground are adding fill light.
| Visual element | Realistic approach | Common AI problem |
|—|—|—|
| Face lighting | Match brightness to the main light source | Flat light with no direction |
| Cast shadows | Keep angle and softness consistent | Shadows pointing different ways |
| Reflections | Reflect nearby objects and colors | Random or missing reflections |
| Background exposure | Match subject brightness to the scene | Subject looks pasted in |
| Highlights | Use restrained shine on skin and metal | Excessive glossy surfaces |
Choose a Camera Perspective That Fits the Subject
Lens perspective changes how a scene feels. A close portrait made with a wide-angle lens can exaggerate the nose and face shape, while a longer portrait lens compresses features and creates a softer background. Mentioning a plausible lens style can help steer image generation.
For everyday portraits, a 50mm or 85mm look often feels natural. Wider perspectives suit interiors, architecture, group shots, and environmental portraits. The important part is consistency: do not combine an extreme close-up with a distant wide-angle scene unless that is an intentional photographic choice.
A realistic image also benefits from imperfect framing. A cropped shoulder, slightly tilted horizon, or subject placed just off-center can resemble an authentic candid photograph. Use this sparingly for commercial images, where composition may need to be cleaner.
[Internal Link: AI Image Prompt Writing Tips]
Refine the Image With Selective Editing
The best editing workflow is targeted. Rather than applying a heavy filter to the entire image, isolate the areas that need work. Correct warped hands, remove distracting artifacts, adjust a reflection, or rebuild a small section of clothing while leaving successful areas alone.
Local edits are especially helpful when the original composition is strong. Many AI tools offer inpainting, masking, or generative fill features that allow you to replace one flawed area without regenerating the entire image. This preserves the lighting and character you already like.
Correct Anatomy Before Cosmetic Details
Hands, feet, teeth, ears, and accessories deserve attention before color grading. A beautifully toned image with six fingers will still look artificial. Zoom in and inspect the areas where generators frequently fail.
When replacing a problem area, use a short instruction that matches the existing image. For example, ask for “a natural left hand resting on the table, matching the existing warm window light” rather than adding an unrelated style description.
Add Texture Without Adding Noise
A subtle amount of grain can help an image feel more like a camera photograph, especially if the source looks too clean. Fine grain should support the image, not hide poor generation quality. Heavy noise can make skin muddy and reduce the sense of realism.
Texture overlays can also help with backgrounds, walls, clothing, and printed materials. Apply them lightly and make sure the texture follows perspective. A flat texture pasted over a three-dimensional object is often as distracting as the original AI artifact.
Use Color Grading With Restraint
Color grading can unify a generated image, but extreme edits often make it look less realistic. Strong orange-and-teal treatments, crushed blacks, oversaturated greens, and excessive clarity may work for a stylized campaign, yet they can expose artificial skin and lighting.
Start by correcting white balance. Indoor tungsten light should create warmer tones than daylight, while shaded outdoor scenes may carry cooler tones. Once the color temperature feels credible, make small adjustments to contrast, saturation, and highlights.
A reliable rule is to preserve variation. Skin should not become one flat color, and shadows should retain some detail. If every area of the image has the same warmth, sharpness, and contrast, it may look like a digital render rather than a photograph.
Common Mistakes That Reduce Realism
Many AI images become less convincing during the final editing stage. The creator notices one flaw, then overcorrects the entire image. A light touch usually produces a better result than trying to perfect every pixel.
Keep an eye out for these common mistakes:
- Over-smoothing skin until it resembles plastic.
- Sharpening eyes, hair, and clothing too aggressively.
- Adding dramatic blur that does not match the camera distance.
- Using lighting effects that contradict the original scene.
- Ignoring hands, reflections, and background text.
- Increasing saturation until skin tones look unnatural.
- Cropping awkwardly through fingers, joints, or facial features.
- Adding too many props that do not interact naturally with the subject.
Build a Repeatable Realism Workflow
A repeatable workflow saves time and produces more consistent images. Begin with a focused prompt, generate multiple variations, select the strongest composition, and inspect the result before making corrections. This order prevents you from spending time polishing an image with a weak foundation.
Keep a record of prompts that produce reliable lighting, camera perspective, and skin texture. Over time, you will develop your own prompt library for portraits, products, interiors, and lifestyle scenes. This is especially useful for brand work, where a consistent visual style matters.
| Stage | Main goal | Best practice |
|—|—|—|
| Prompting | Create a believable scene | Define subject, location, light, and lens style |
| Generation | Find a strong base image | Create several variations before editing |
| Inspection | Spot obvious flaws | Zoom into hands, eyes, text, and reflections |
| Local editing | Repair only weak areas | Use masking or inpainting selectively |
| Color finishing | Unify the image | Adjust white balance and contrast lightly |
| Final review | Check realism at different sizes | View on desktop, mobile, and thumbnail scale |
Platform Differences to Keep in Mind
Each AI image generator interprets prompts and edits differently. Some are better at cinematic composition, while others offer stronger inpainting, reference-image controls, or photo editing. The principles remain the same, but the exact workflow may change.
If your tool supports image references, use real photographs as guidance for lighting, pose, material, or composition. Do not expect a reference to copy every detail exactly. It works best as a visual direction that helps the model maintain a coherent look.
For product photos, you may need more manual correction than you would for a landscape. Logos, labels, packaging text, and precise product geometry are frequent weak points. Consider combining AI-generated lifestyle scenes with authentic product photography when accuracy matters.
[Internal Link: AI Product Photography Best Practices]
Final Review Before Publishing
Before publishing, step away from the image for a few minutes and return with fresh eyes. Look at it on more than one screen size. Small inconsistencies that are invisible on a large monitor can become obvious in a social media crop or mobile preview.
Check whether the image supports the purpose of the page. A realistic AI photo should not only look convincing; it should fit the brand, audience, and message. For commercial use, make sure the image does not contain distorted trademarks, misleading product details, or visual claims that could confuse viewers.
Conclusion
The most realistic AI photos are built through a series of thoughtful decisions, not a single prompt or editing trick. Start with a scene that makes physical sense, then describe the lighting, lens perspective, materials, and mood clearly. Choose the strongest generated variation before spending time on touch-ups.
From there, focus on the details viewers notice first: hands, eyes, skin texture, shadows, reflections, and background objects. Keep imperfections that feel human, but repair mistakes that break the illusion. Edit locally whenever possible, and use color grading with restraint so the image still resembles a photograph rather than a filter.
The practical answer to how to make an ai photo look more realistic is to create consistency. When the subject, light, perspective, texture, and environment all agree with one another, the final image feels far more natural and credible.
Frequently Asked Questions
What makes an AI photo look fake
AI photos often look fake because of inconsistent lighting, overly smooth skin, distorted anatomy, unreadable text, or unrealistic reflections. Fixing the most visible flaws and preserving natural texture usually improves credibility faster than increasing sharpness.
Should I add camera settings to prompts
Yes, realistic camera details can help guide composition and perspective. Mention a plausible lens length, depth of field, or lighting condition, but avoid stacking too many technical terms that do not suit the scene.
Can editing make AI faces more realistic
Yes, selective editing can improve skin texture, eyes, hair edges, and facial symmetry. Avoid heavy retouching, though, because excessive smoothing or sharpening often makes faces look more artificial than the original generation.
Why do AI-generated hands still look wrong
Hands are complex because they contain many small joints, overlapping fingers, and pose-dependent proportions. Generate multiple versions, hide hands when they are unnecessary, or use local inpainting to correct flawed fingers and gestures.
Is photo grain useful for AI images
Subtle grain can make a clean AI image feel more camera-like, especially in low-light or documentary-style scenes. Use it lightly after correcting major problems, since grain cannot convincingly hide distorted anatomy or inconsistent lighting.